
Blog Layout

How To Add Your Business to Google + Google Maps in 2022
Hannah Martin • Mar 28, 2020
Get your business listed in Google maps aka "GMB" to get more traffic and customers.
Google My Business allows you to manage your location's online presence in Google for free, across all of their platforms. It's one of the most important local listings, otherwise known as citations, for Local SEO. Basically, Google will send you customers for free through local searches, if your Google My Business listing is set up and properly optimized, and especially if you're doing Google Maps marketing.
This guide is going to show you how to get your business listed on Google maps for free, step by step.
Benefits of listing your business on Google
Google is the #1 search engine in the world. So why does your business need to be listed? Because when you add your business to Google Maps, and people search for services in your area, your Google My Business (formerly known as Google Places and Google Maps) listing is what will show up in search results. This means you'll get more online visibility, calls, and foot traffic from having this listing show up in an optimized fashion. In fact, there are a ton of benefits to having a GMB listing.
Imagine if you could show up #1 on Google maps - what would that do for your business?
Imagine if you could show up #1 on Google maps - what would that do for your business?
How to Add Or Claim Your Google My Business Listing
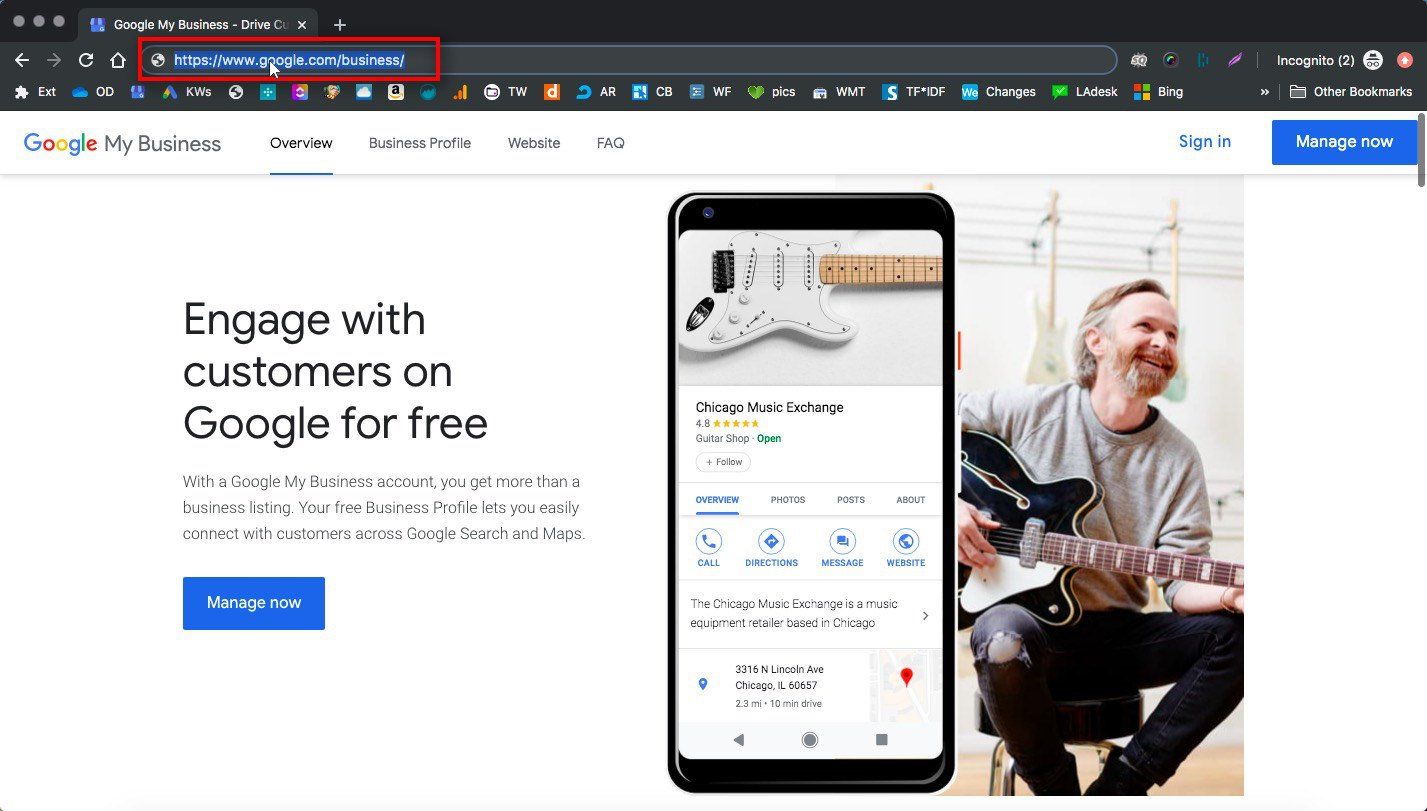
1. Go To Google My Business
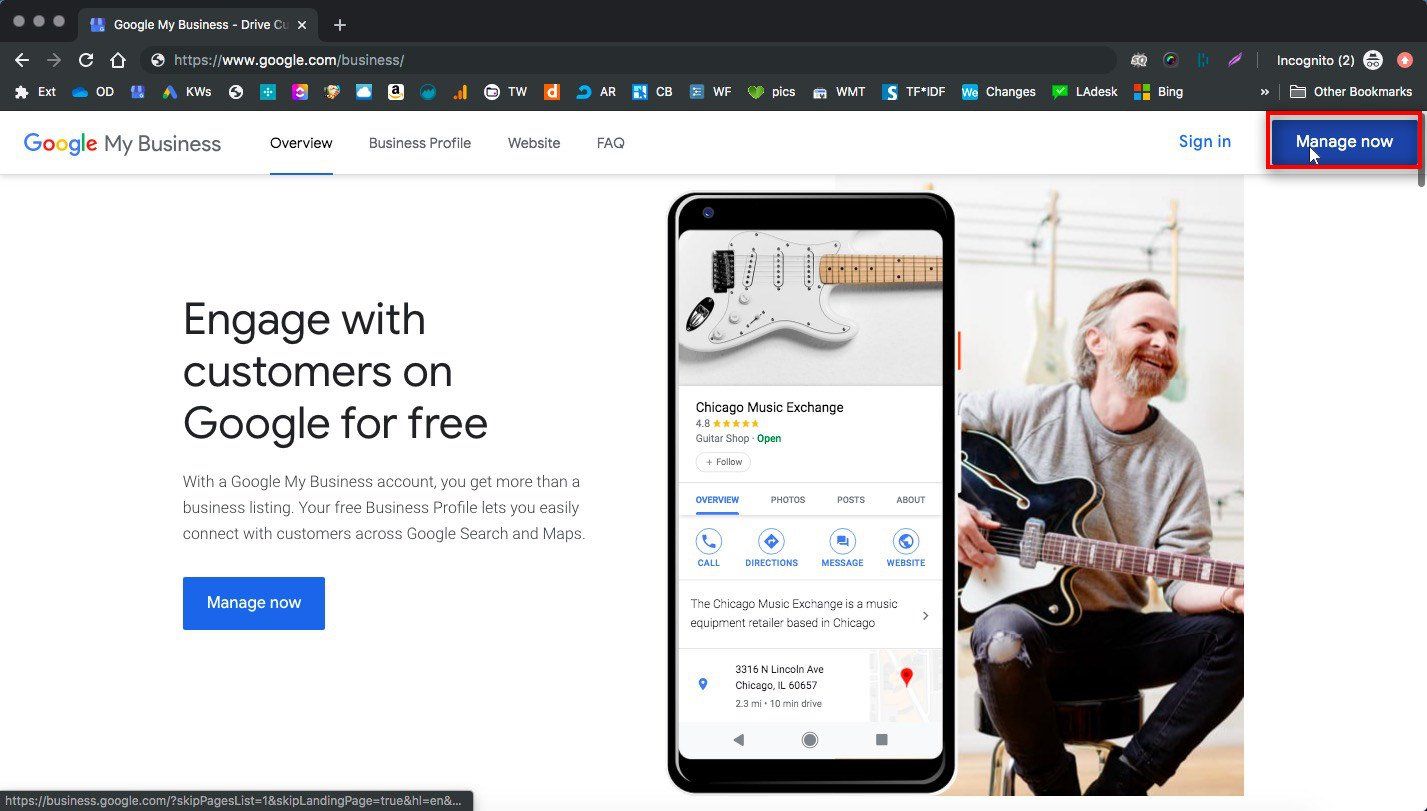
2. Click Manage Now
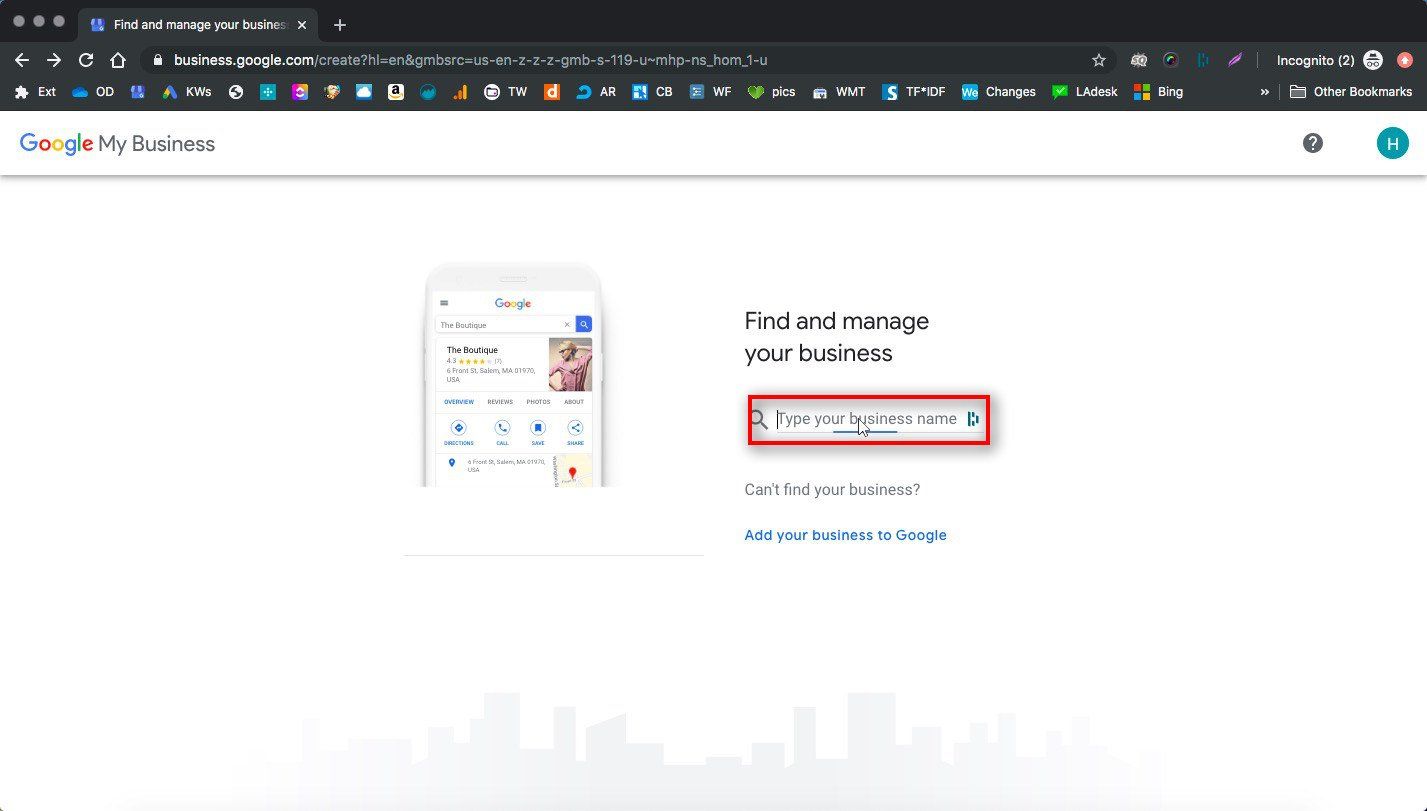
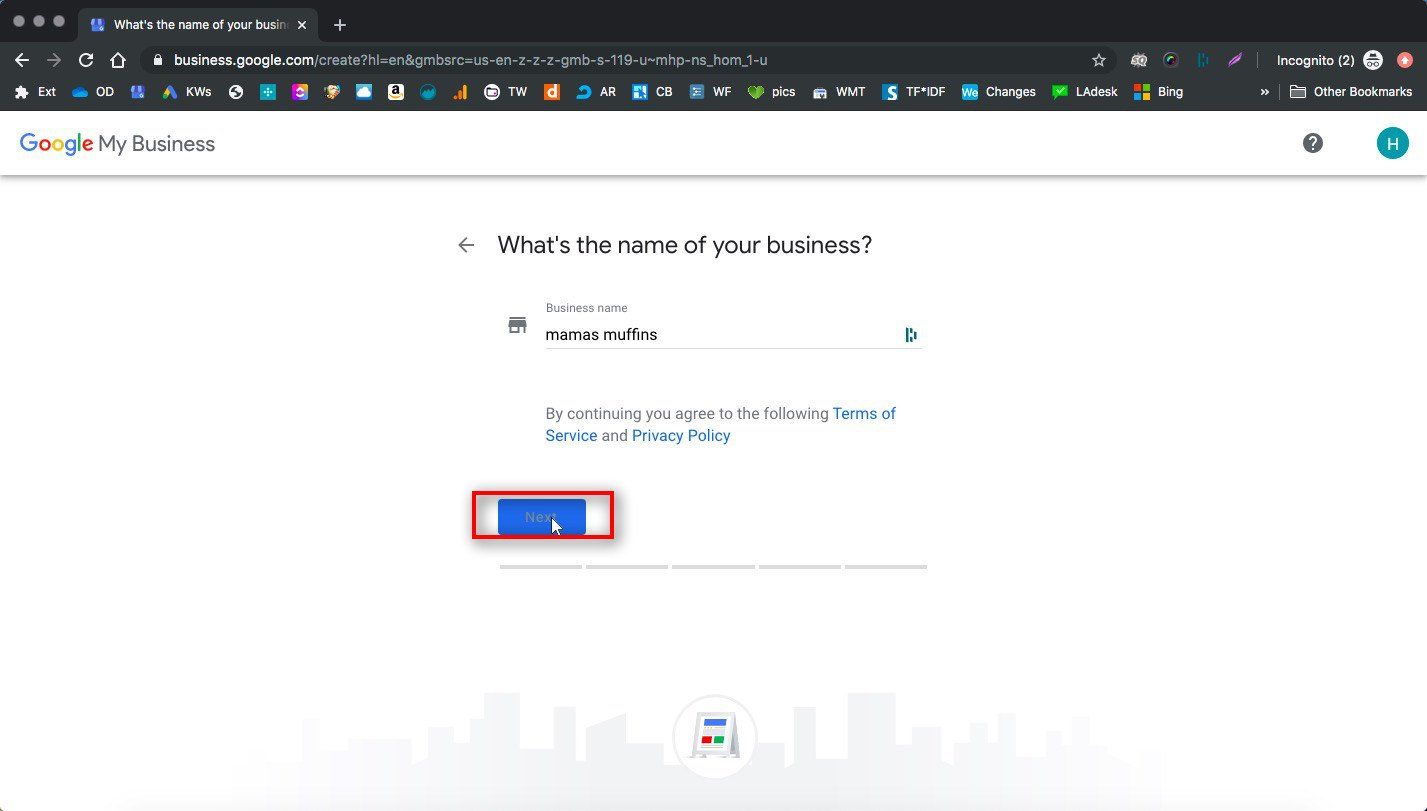
3. Enter Your Business Name
If your business already exists in Google maps, the listing will show up in the search and you can select and claim it. Make sure you search for your existing business listing here using any name variations you might have, because you don't want to create a duplicate listing or cause NAP inconsistencies!
If your business isn't already in Google, this is where you can add it.
Make sure you’re using the exact name format you use everywhere else, since this is very important for SEO consistency and will impact your visibility later.
If your business isn't already in Google, this is where you can add it.
4. Confirm your business name
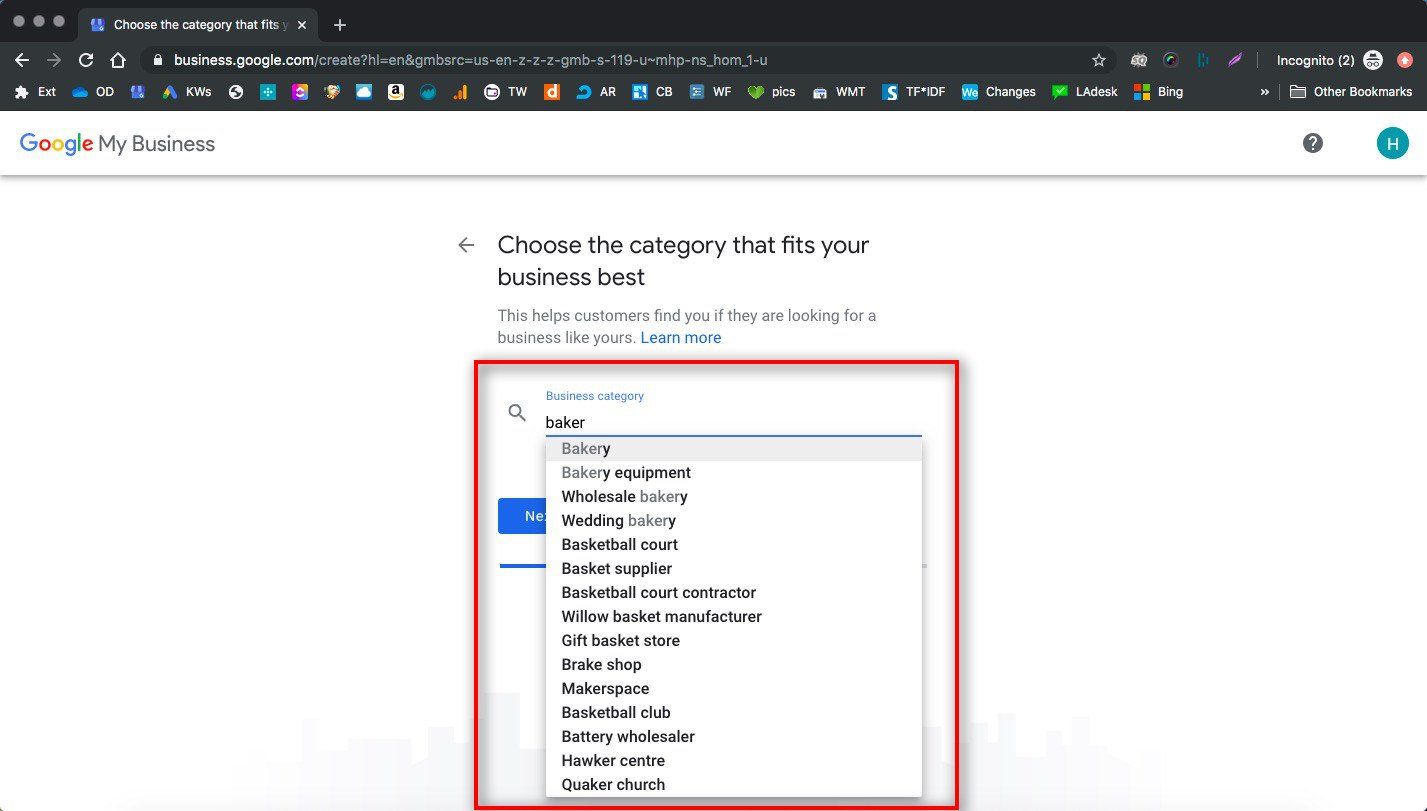
5. Select your primary business category
After your NAP information, this is the most important section of your business information. This is how Google will categorize your business, so it needs to be accurate and encompass all of your services. You can add more categories later.
Start typing your main category, and see what comes up in the suggestions. Choose the one that fits best!
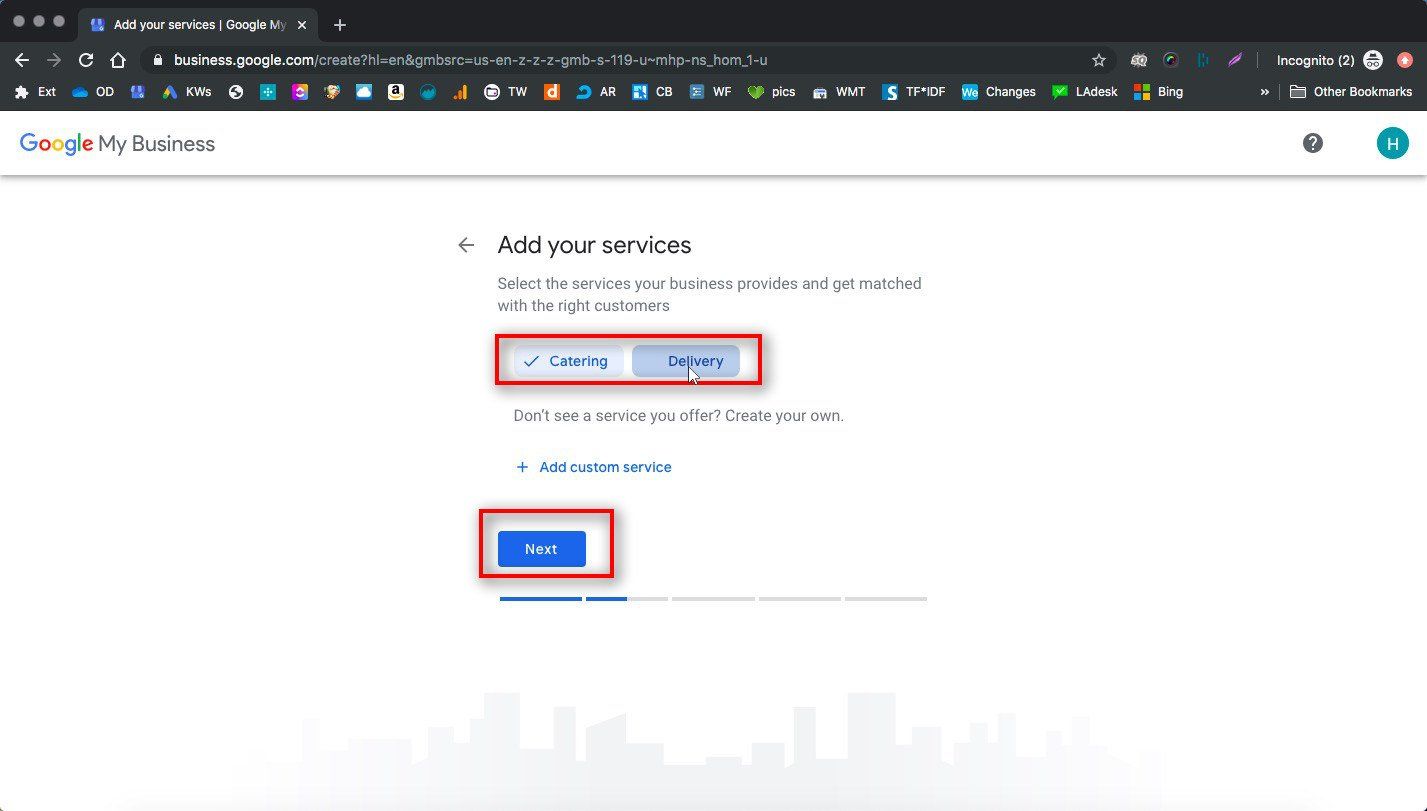
6. Add Your Services
Google may suggest some for you. You should add all of your main services here!
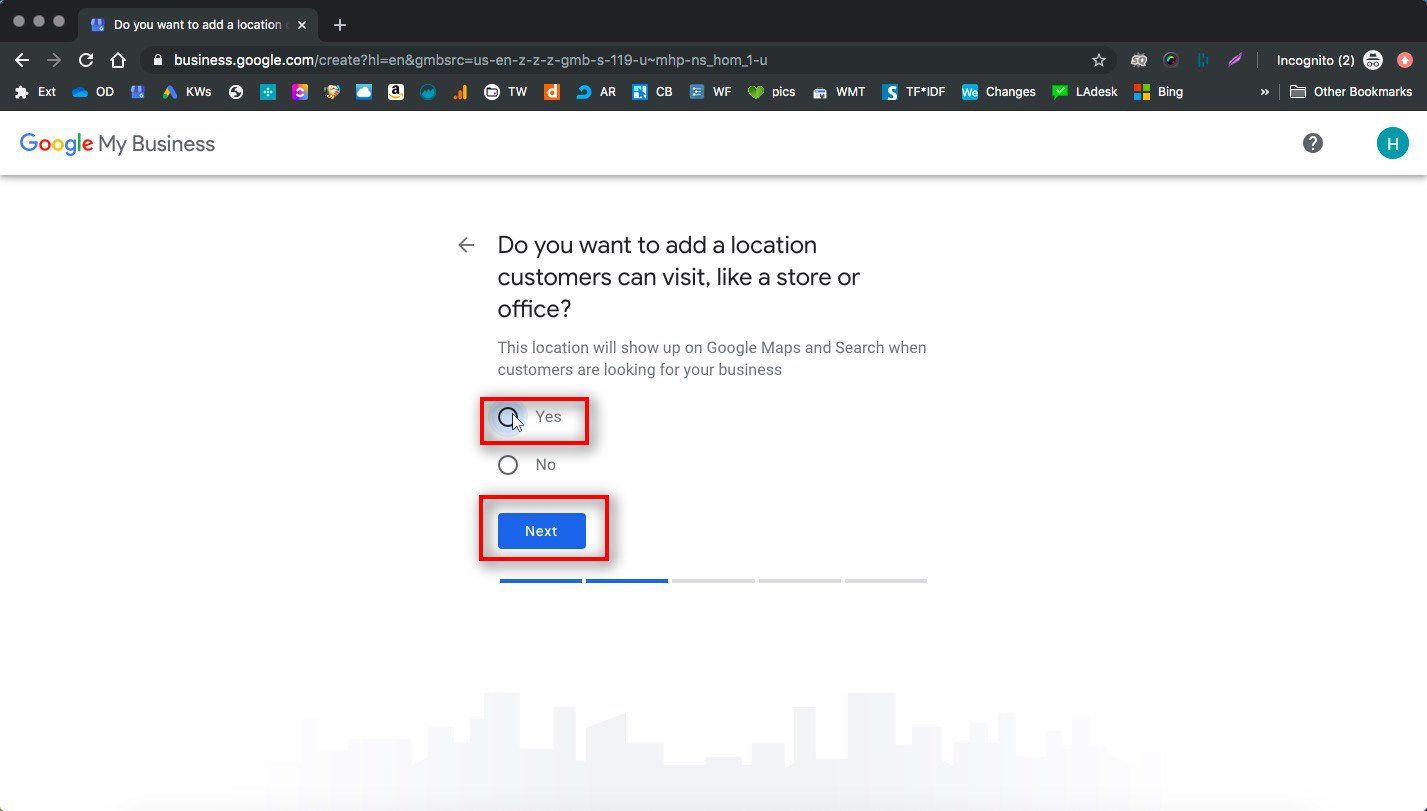
7. Designate whether your business has a location or not
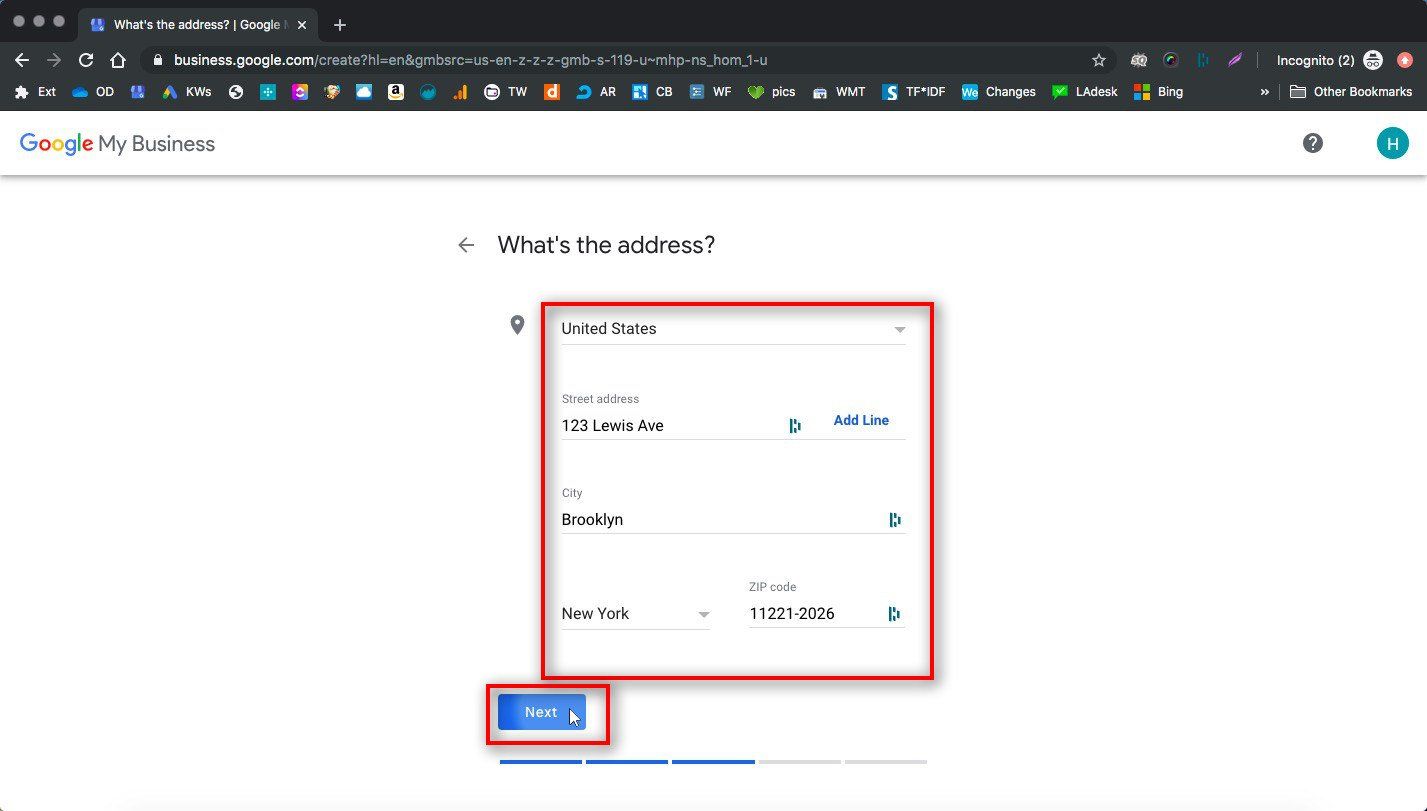
8. Enter your business address
Make sure you’re using the actual address of your business in the city you want to show up in, and make sure you can receive mail here. It will be important for verification later.
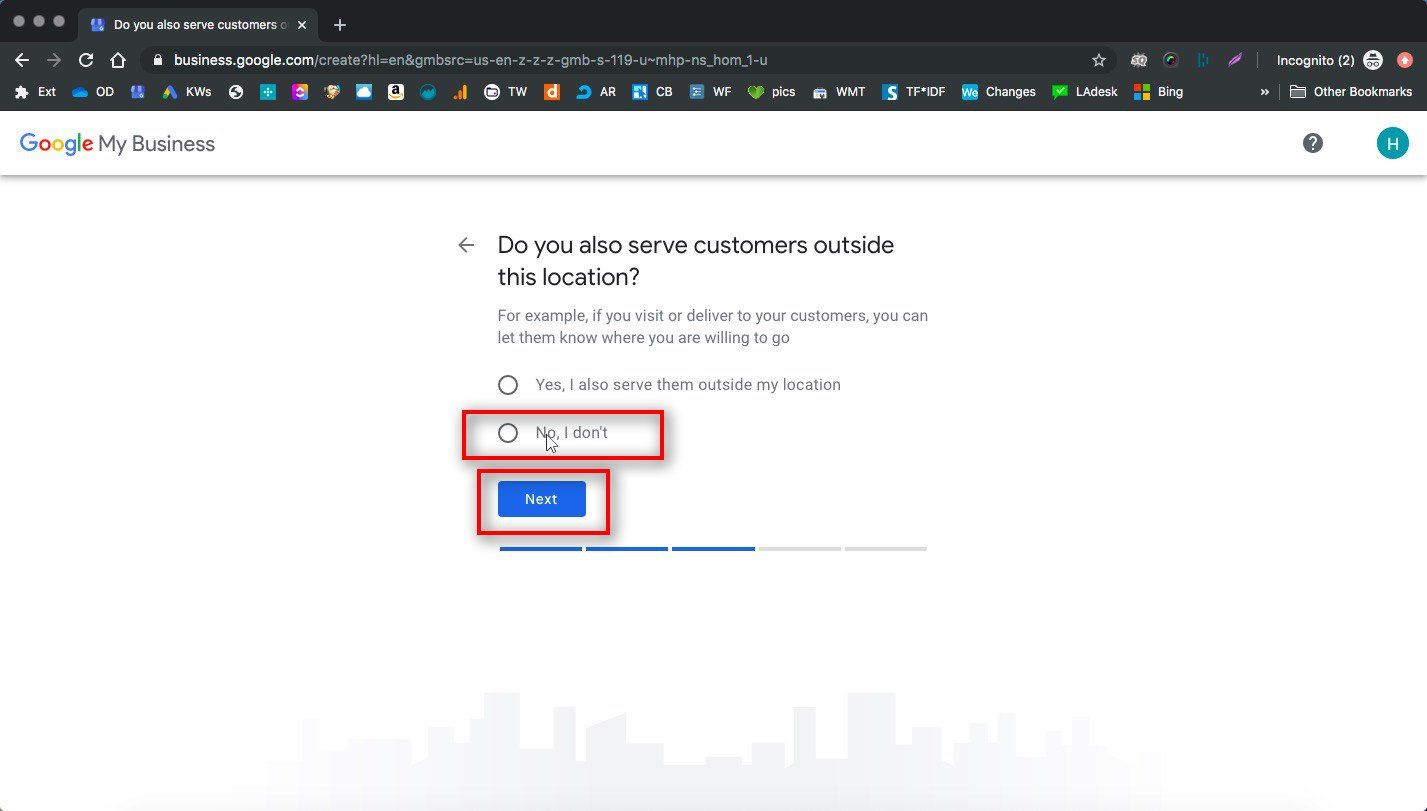
9. Designate whether you have a service area
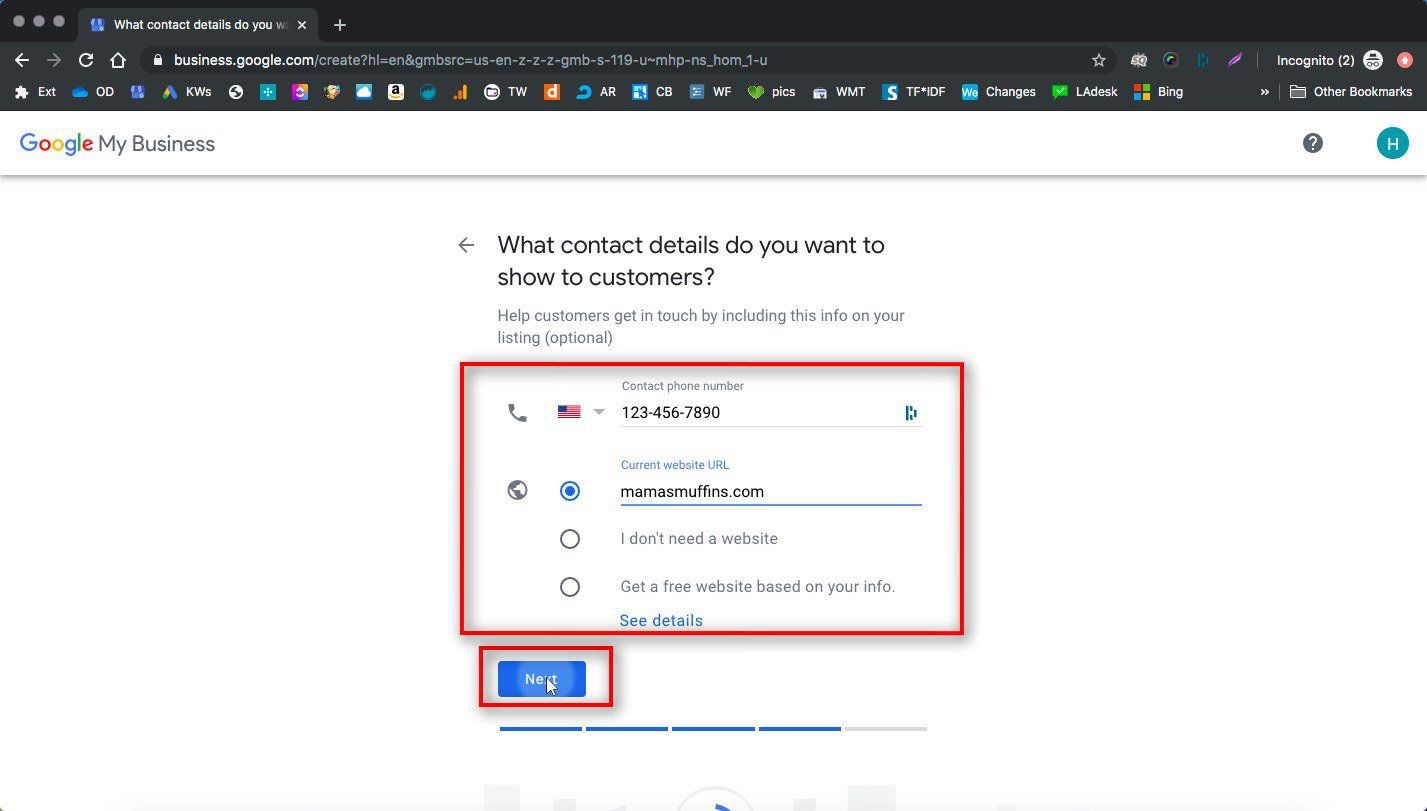
10. Enter your phone number and website
11. Click Finish
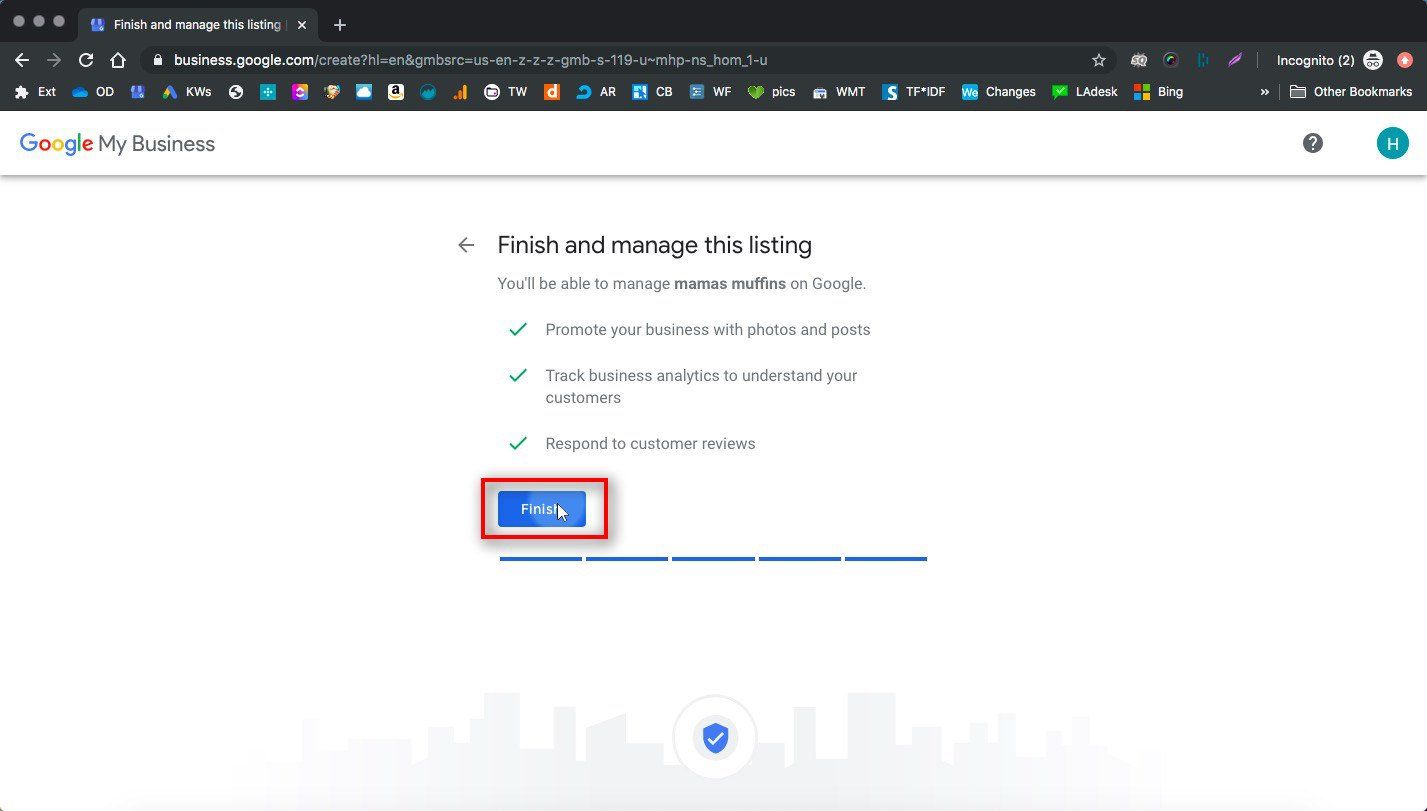
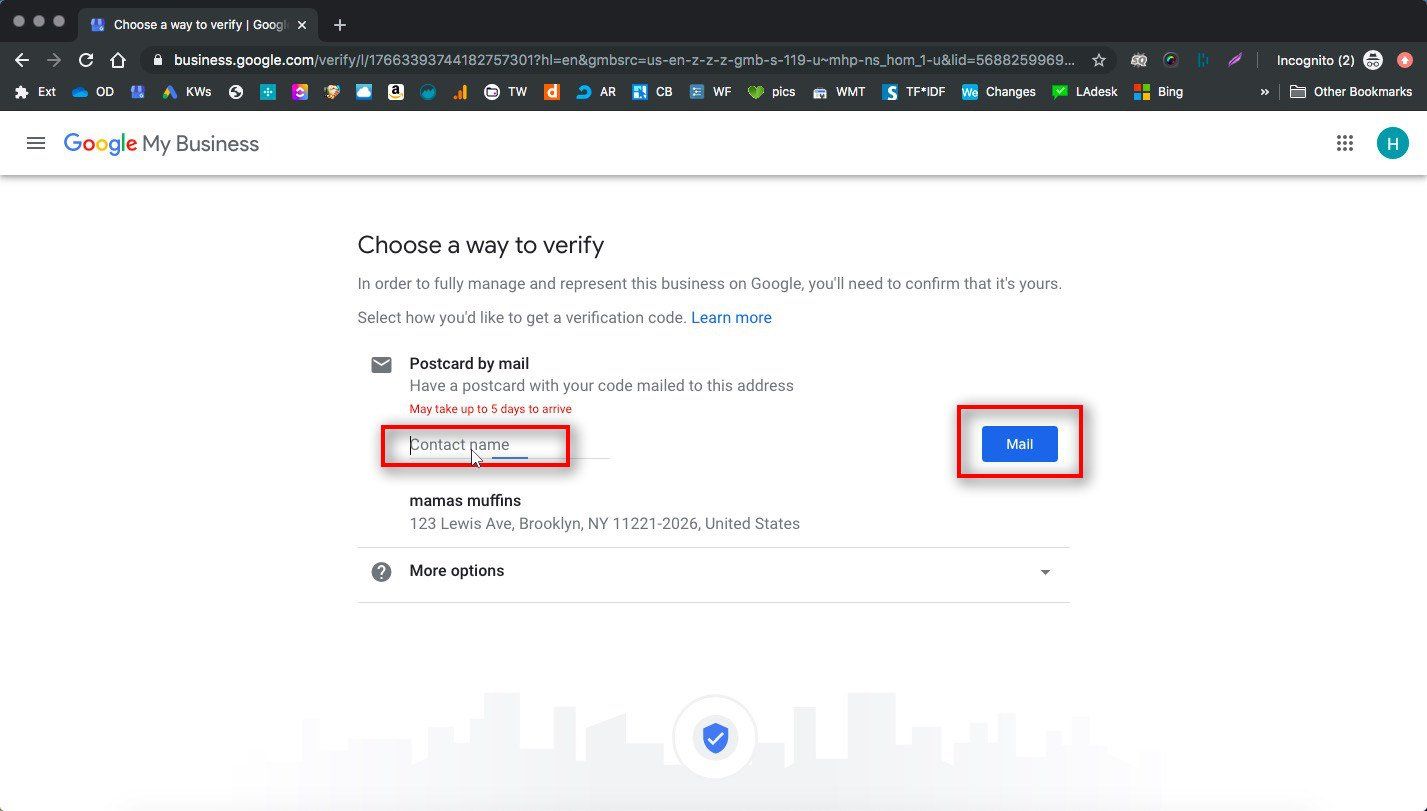
12. IMPORTANT: Verify your listing
This will usually be done with a postcard. Your postcard should arrive within a few weeks, and then you need to enter the code on the postcard into the verification section of your GMB listing. If you don't verify your Google listing when the postcard comes in, it will never go live, so this step is very important!
Sometimes if your business is established and there are already many references to your business name+phone number throughout the web, you can opt for a different faster kind of verification like a phone call.
Sometimes if your business is established and there are already many references to your business name+phone number throughout the web, you can opt for a different faster kind of verification like a phone call.
Once you are done adding your listing to Google, it will become live after verification. After that, congratulations, you have successfully added your business to Google and can start getting free traffic and exposure from searches in your local area!
Next you’ll need to do some optimization for local search to be able to increase your visibility month over month. This includes adding more information to your listing, like photos, descriptions, and additional categories, and getting reviews on your new GMB profile.
Watch Our Presentation to Get On Google Step By Step

Announcement: We have rebranded!

Wondering how to ask your clients and customers for Google reviews? Here is a complete guide to help you come up with wording and strategy.
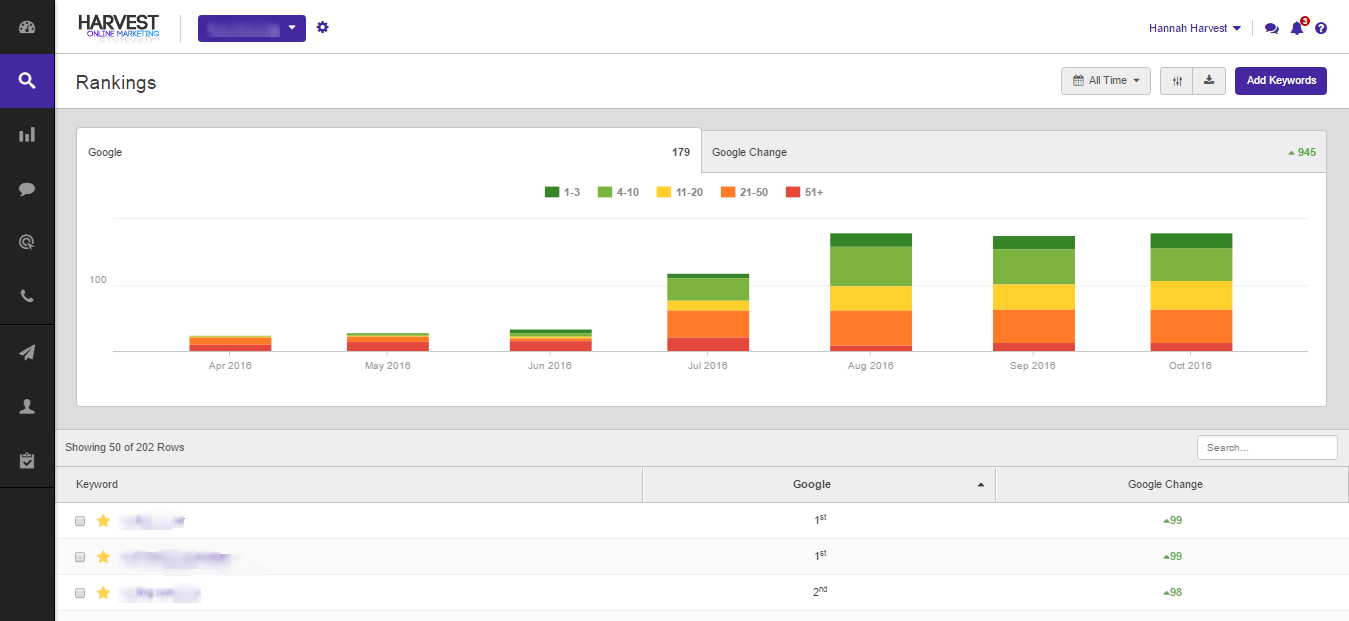
A quick guide to our favorite local rank trackers for small businesses who want to monitor their positions in Google when working on their search engine visibility. Click here to find the best ones!

Is it possible to rank one website for multiple locations in multiple different areas?
What are the benefits of a GMB or local Google My Business listing for your local business? Find out here.
Learn the best website builder/host for your small business with our platform comparisons for 2020, including Squarespace, Wordpress, Wix, ProPages, and more.
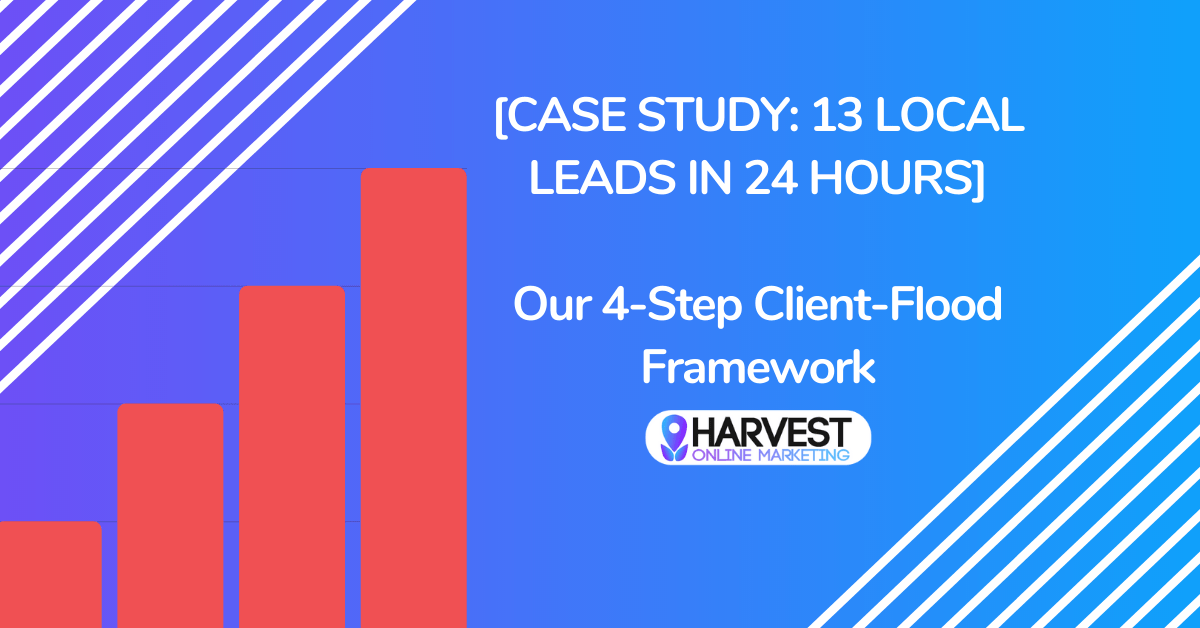
Learn the 4 step framework we use that can help you start getting new client leads within 24-48 hours.
A straightforward guide for business owners who think they might need search engine optimization but aren't sure. Answer 2 questions and you will know!

Whether you are a small local business, an ecommerce store, or a consultant, the marketing strategies are different for each. Learn your best options here.
Contact Us
We are a digital marketing agency that helps contractors get in front of their perfect customers online, and look great while doing it.
